


Document Actions
gvSIG-Desktop 1.10. User Manual
gvSIG 1.10 User manual - Analisys and procesing data - Vectorial - Geoprocessing tools - 2D Translation - Translating a vector layer
Firstly, load a vector layer in gvSIG and then click on the geoprocessing wizard in the tool bar.

Select the option “2D Translation” from the “Data Conversion” folder. Click on the “Open Geoprocess” button and the geoprocess data input window opens. For the input layer, select the vector layer (dgn, dxf, dwg, shp…) you wish to translate and introduce the values corresponding to X and Y. Select an output layer and click on “Ok”.
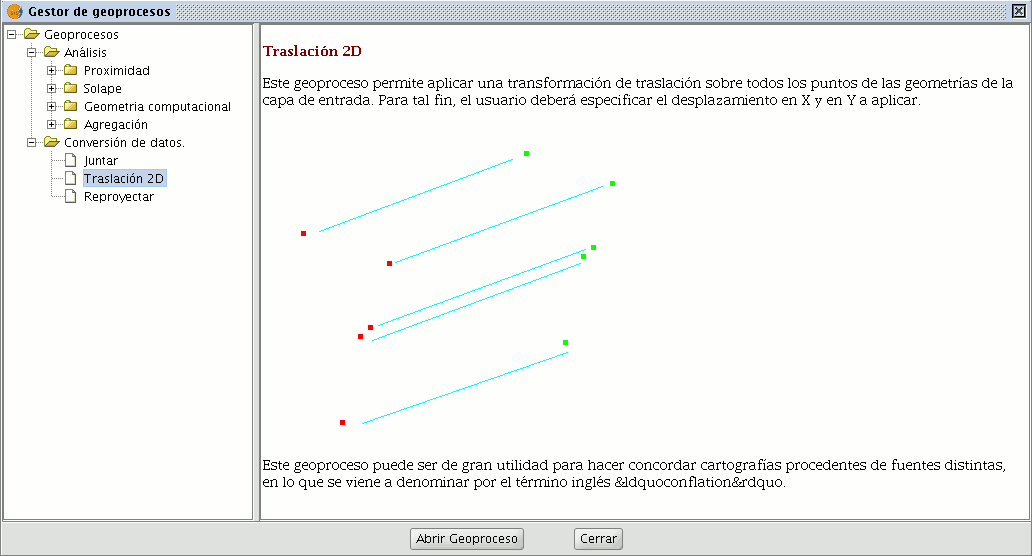
The following image shows the result of applying the translation process.

Relationship between the type of layer before and after translation.
| Input cover | Output cover/s | |
|---|---|---|
| Point Shp file | Point Shp file | |
| Multipoint Shp file | Multipoint Shp file | |
| Line Shp file | Line Shp file | |
| Polygon Shp file | Polygon Shp file | |
| Dxf (points, lines, polygons) | Point Shp file Line Shp file Polygon Shp file |
|
| Dgn (points, lines, polygons) | Point Shp file Line Shp file Polygon Shp file |
|
| Dwg (points, lines, polygons) | Point Shp file Line Shp file Polygon Shp file |
|
Cached time 11/21/13 07:10:30 


